Streamline Lightroom
workflows
Have you ever asked yourself, "how could I
get all the benefits of shooting in RAW without having to try to figure out all
of the frustrating tool sets of most RAW converters?" If you have, the
following tutorial might be for you. If you are using iCorrect EditLab
Pro, you already know how fast and easy color correction and color editing can
be with its four tabbed SmartColor wizard approach. Hopefully, this will
help simplify your workflow when your work calls for capturing your images in
RAW format.
Undoubtedly, there are many advantages of
shooting in RAW, unfortunately, the color editing tools within most RAW
converters are somewhat less than intuitive, straightforward, or easy-to-use.
The following tutorial will show you how to get the most out of your images with
RAW capture while streamlining your workflow with either iCorrect
EditLab Pro Plug-in
or
iCorrect EditLab ProApp.
The following workflow accomplishes the main
objective of creating images of the highest quality while minimizing the
frustration, simplifying the process, and reducing the time required to enhance
and fine tune them to
suit your preferences.
Step I: White Balance
One of the main advantages of shooting in
RAW is that with RAW capture, you can set the white
balance of the image during the RAW conversion without sacrificing image
quality. For this reason, you should use the white balance
tool in your RAW converter. In
Adobe Photoshop's Camera Raw, it is the
third tool from the left in the upper left of the main panel. For the most
natural look, Do this by selecting an area in the image that you know
should be a fairly light neutral gray. In figure 1, we clicked on the
throat of the duck.
Or, if there isn't
a good neutral gray area, simply use one of the other default options.
For figure 2, we chose the "As Shot" option since there was no true neutral
other than the sky which Camera Raw told us was "too bright to set the
white balance."
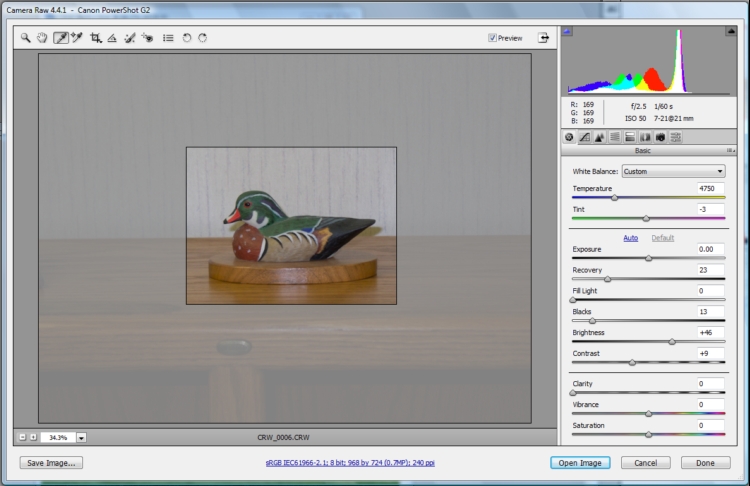
Figure 1.
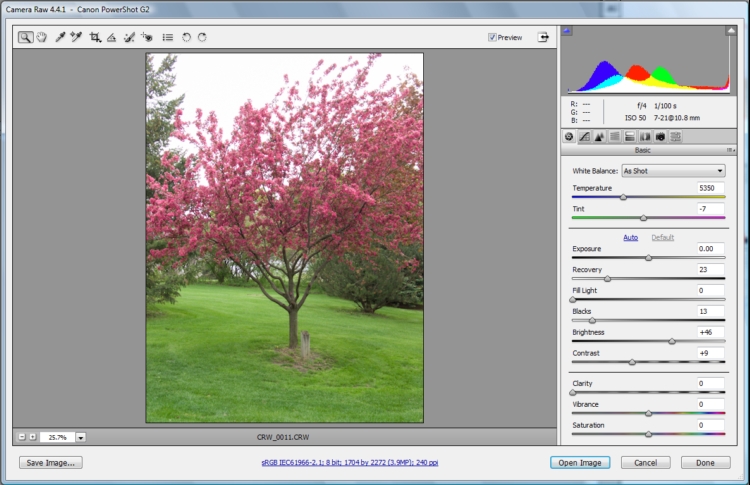
Figure 2.
Step II: Exposure
The second important advantage of RAW capture is that RAW offers the
ability to recover from exposure errors. This is explained fully in the
two articles referenced above. Figure 3 provides an excellent example of
this in the bright highlight area of the clouds in the upper left. With
the RAW conversion, Camera Raw limits the brightest value to R=241, G=241,
B=241. But with a JPEG capture of the same scene (Figure 4.), the
highlights are blown way out to R=255, G=255, B=255, resulting in a loss of
detail that can never be recovered. Based on our testing, the default algorithms
in Camera Raw do an excellent job of optimizing the exposure for the Raw
conversion while providing plenty of "headroom" for further fine tuning in
iCorrect EditLab Pro
Plug-in or
iCorrect
EditLab ProApp.
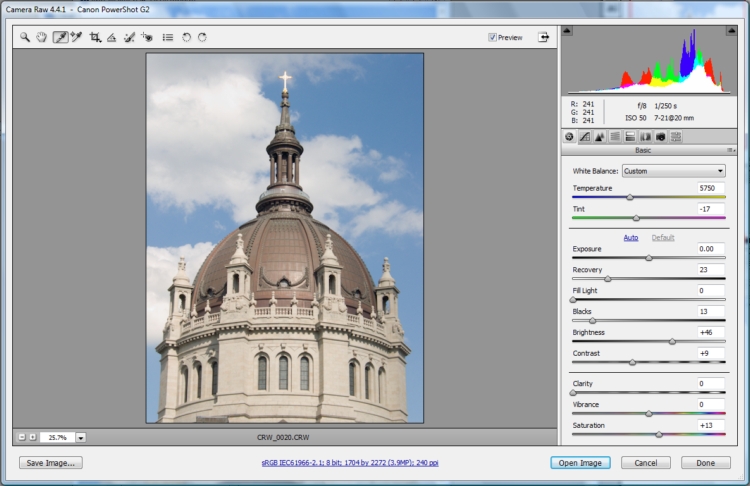
Figure 3.
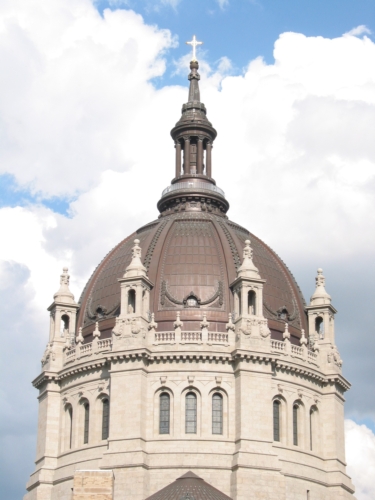
Figure 4.
Step III: Sharpening and Noise Reduction
Now that you've established a good baseline for color balance and exposure, you
should address sharpening, and luminance and color noise reduction.
Although Camera Raw's sharpening tool is rather unsophisticated with limited
parameters and options, one could make the argument that in the interest of an
expedited workflow, even its default setting serves its purpose well as shown in
comparison figures 5 and 6. Notice the enhanced detail in the lions' manes
and shield.
If your work requires extra attention to sharpness or need to address
specific problem images, then you should sharpen post-conversion.
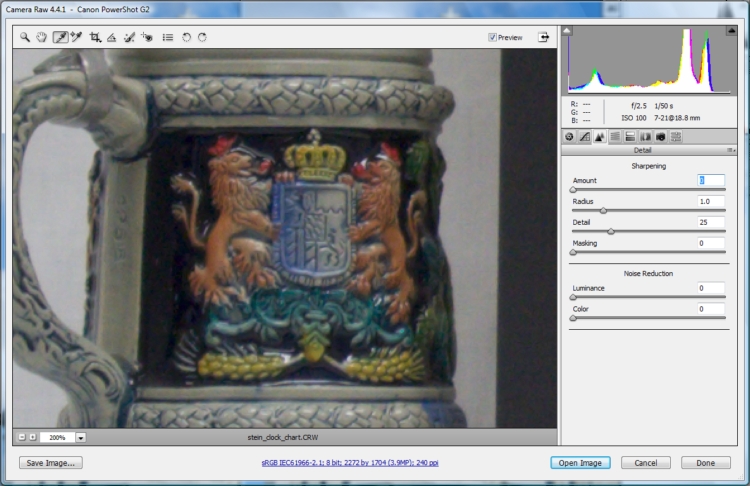
Figure 5. (no sharpening)
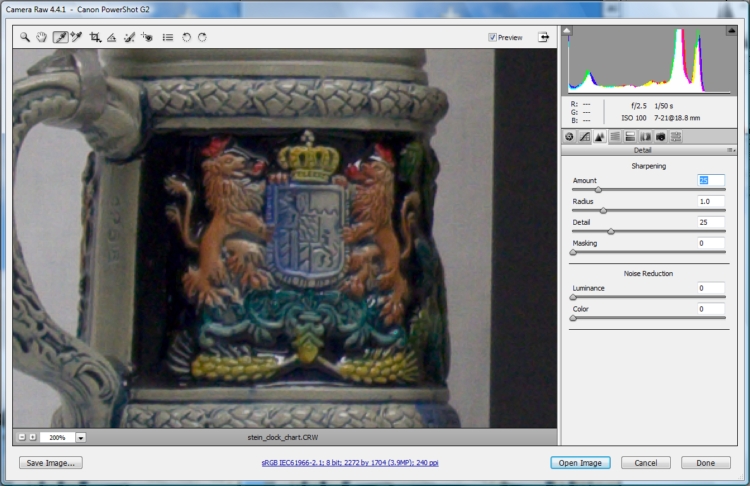
Figure 6. (default sharpening)
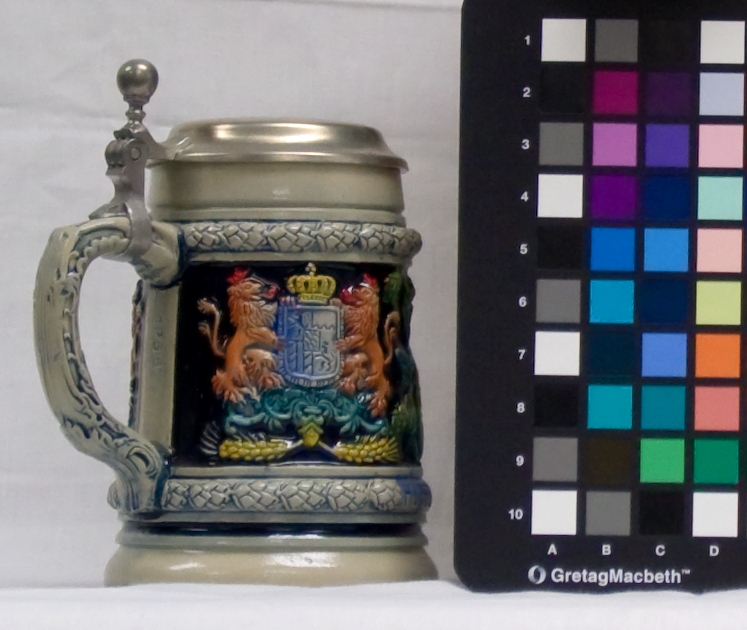
With respect to luminance noise and color noise, the best time to address these
is during the RAW conversion since it is generally faster, more effective, and
less destructive than doing so in Photoshop. Notice how well it cleans up
the squares of the GretagMacbeth ColorChecker Chart in comparison Figures 8 and
9. Finally, see how crisp and clean the overall image is in Figure 10.
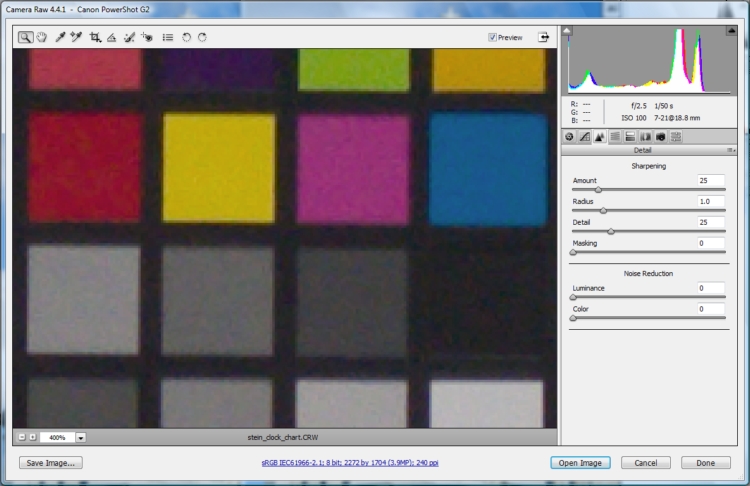
Figure 8.
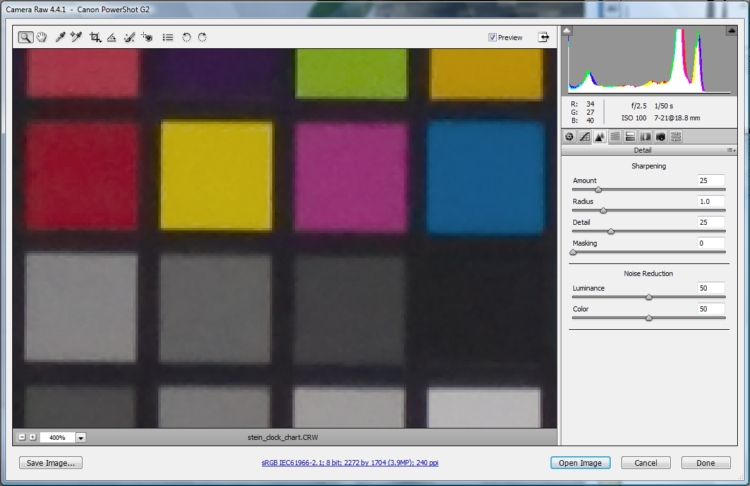
Figure 9.
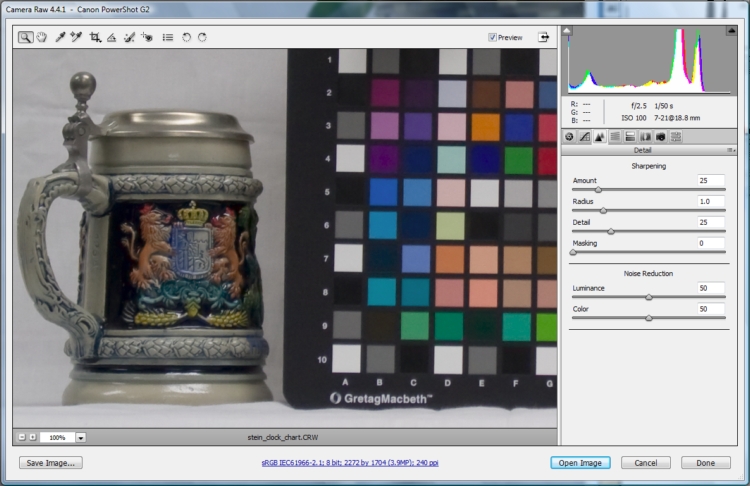
Figure 10.
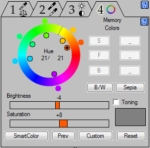
Step IV: Fine Tuning with iCorrect EditLab Pro
Since the tool sets within most raw conversion programs for fine tuning images can be rather
complex, cumbersome, and confusing, we would recommend using
iCorrect EditLab
Pro Plug-in or
iCorrect
EditLab ProApp at this point. Its four
tool sets are logically arranged from left to right and offer a wizard-like
approach to accurate color and really eliminate the frustration of color correction and
color editing. The tool sets are
designed in such a way that as you progress from left to right, the tools will
not, and in fact cannot affect any of the tools to its left.
This alleviates the common problem of correcting for one thing while
throwing off another. With iCorrect EditLab Pro, one pass through the
tools and you are finished.
|
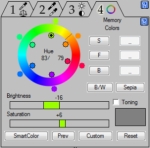
SmartColor™ Wizard
Four logically arranged tool sets save time and
eliminate the frustration
by taking you step-by-step through the color correction process.
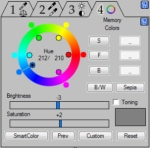
Tab 1
– Color Balance: Remove color cast and correct white
balance.
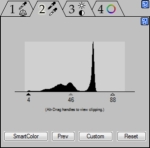
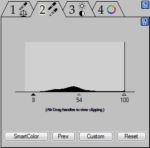
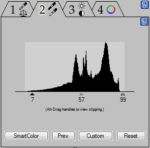
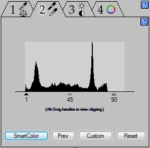
Tab 2
– Tonal Range: Set black point, white point and midpoint.
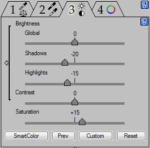
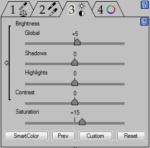
Tab 3
- Brightness/Contrast/Saturation:
Adjust brightness, contrast, and saturation.
Tab 4
– Hue-Selective Edits: Make color corrections on a
hue-selective basis for extra precision.

|
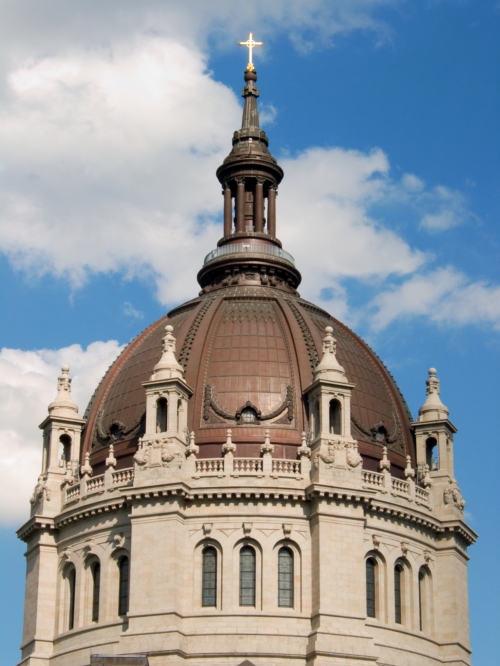
Let's take a look at the four sample images and see easily iCorrect EditLab Pro
transforms them from basically sound Raw captures to stunning images with that
extra "pop" we are always striving for. The initial image is the final
result after iCorrect EditLab Pro, and the image you see after moving your mouse
over it is the basic raw conversion.
Sample 1.
For the first sample, all we had to do was click SmartColor which
adjusted the Tonal Range in Tab2, and we were finished. |
 |
|
|
|
Move your
mouse over the image
to see iCorrect EditLab Pro in action |
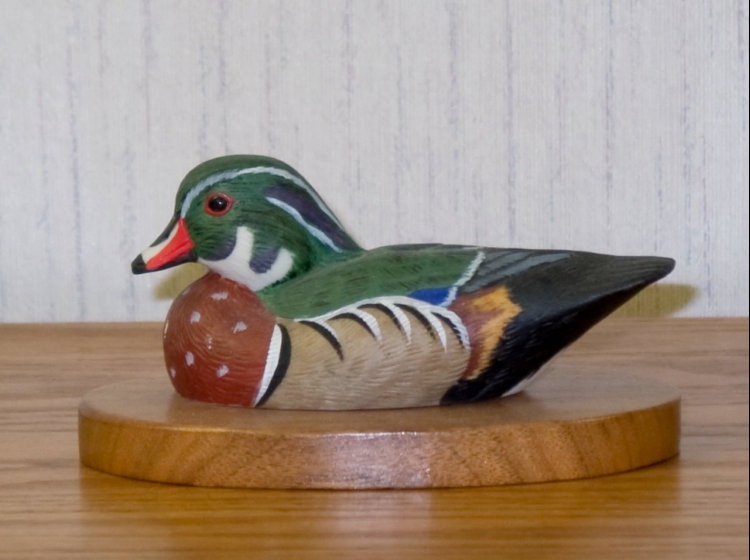
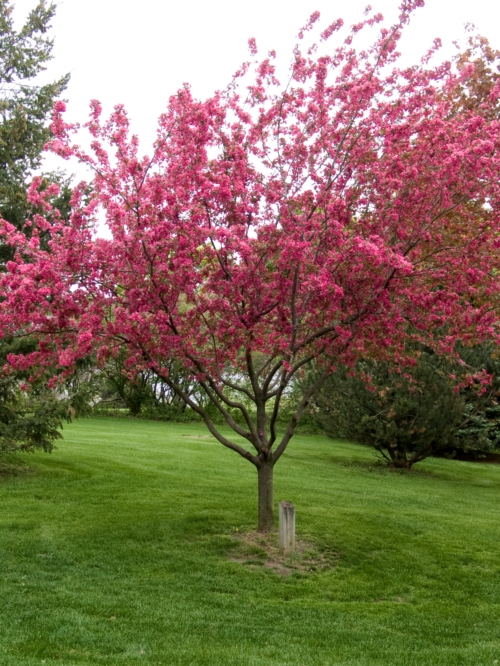
Sample 2.
For the second sample, we also started with SmartColor which
adjusted the tonal range in Tab 2, and then moved to Tab 4 where we
were finished by tweaking the lawn with the Foliage Green Memory
Color and
making it more realistic by adjusting its brightness and saturation
on a hue-selective basis. |
 |
 |
|
|
Move your
mouse over the image
to see iCorrect EditLab Pro in action |
Sample 3.
For the third sample, we manually adjusted the tonal range as well
as the various brightness and saturation controls in Tabs 2 and 3.
We then moved to Tab 4 where we corrected the sky with the Sky Blue
Memory color. |
 |
 |
 |
|
Move your
mouse over the image
to see iCorrect EditLab Pro in action |
Sample 4.
For the fourth sample, we relied on SmartColor to modify the tonal
range in Tab 2 and then slightly adjusted the overall brightness and
saturation in Tab 3. Then we
boosted the saturation of the lions on a hue-selective basis in Tab
4. |
 |
 |
 |
|
Move your
mouse over the image
to see iCorrect EditLab Pro in action |
Hopefully, this tutorial demonstrates that while your work may require the
extra quality of RAW capture, you do not need to feel overwhelmed by the
complexity of most raw conversion programs in order to produce excellent
images. For the most part, you may rely on the standard, default
settings to convert your Raw images, and then use the intuitive,
user-friendly color editing tools in
iCorrect EditLab
Pro Plug-in or
iCorrect
EditLab ProApp
to fine tune them
and give them your personal touch.
Also, for batches of images shot under the same conditions, your workflow
can be dramatically improved by saving the settings for both the Raw capture and iCorrect
EditLab Pro used for the first image and automatically applying them to the
rest of the batch.
iCorrect EditLab
Pro Plug-in
utilizes Photoshop Actions for batch processing, and
iCorrect
EditLab ProApp
has its own built-in
ProcessQ. For a detailed explanation of how
ProcessQ can speed your workflow, see the following tutorial:
Time-Saving Workflows with ProcessQ™.
