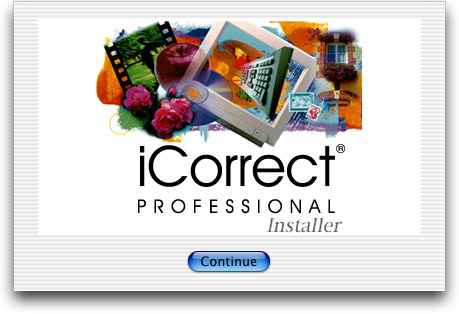
1. Launch the installer program.
2. At the welcome screen, click Continue.
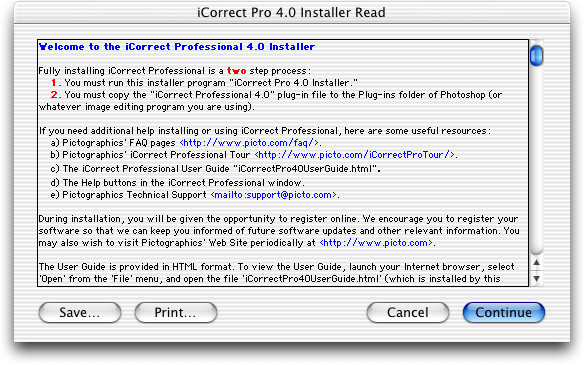
3. Read the installer notes and click Continue.
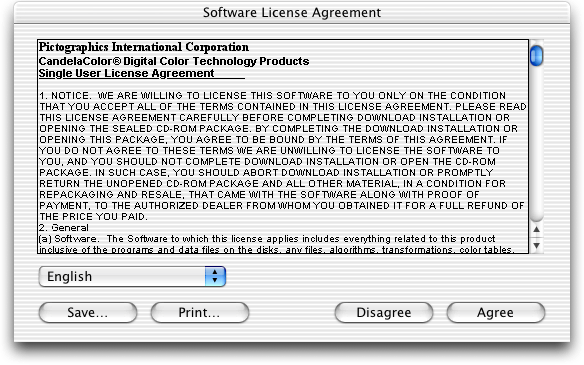
4. Read the License Agreement and click Agree if you agree to its terms.
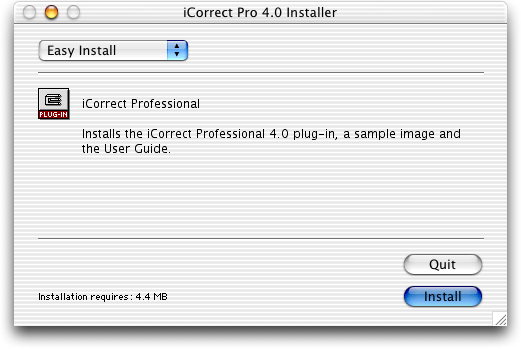
5. Select Easy Install and click Install.
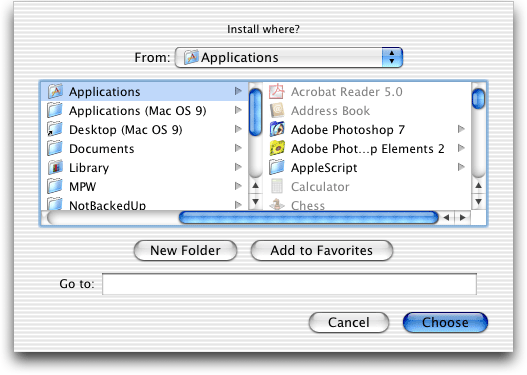
6. Select a location for the installation and click Choose.
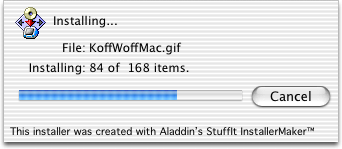
7. A progress display appears during installation.
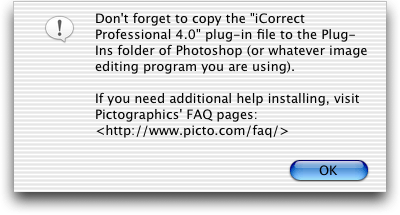
8. Read the reminder message about the second installation step that must be performed (see 11 and 12 below).
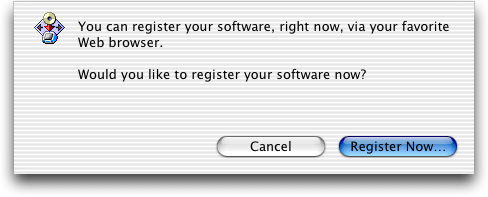
9. If you wish to register your software now, click Register Now…, otherwise click Cancel.
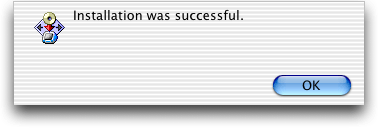
10. A message will indicate a successful installation.
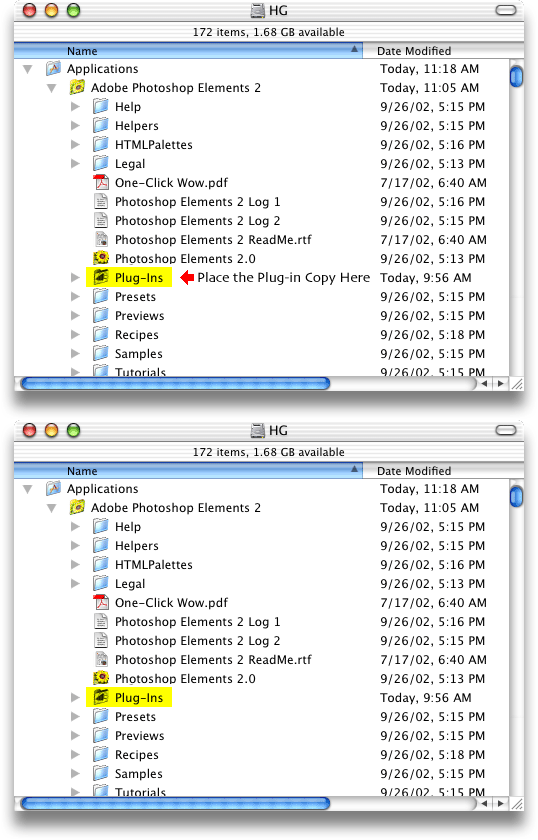
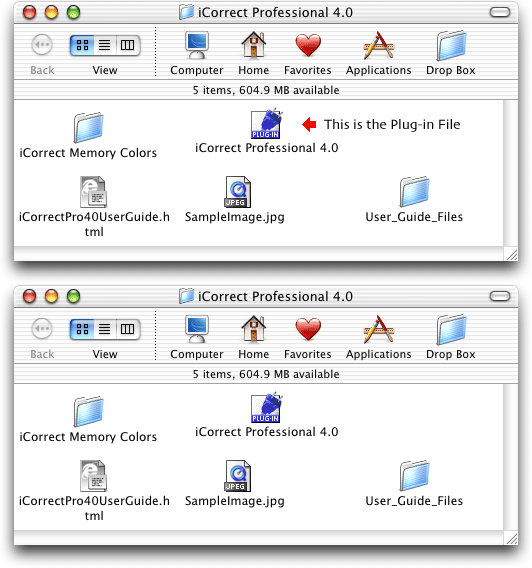
11. Look at the files that were installed. The User Guide may be viewed by opening the file named iCorrectPro40UserGuide.html with a web browser. The plug-in file iCorrect Professional 4.0 must be copied into an application's Plug-Ins folder, as described in step 12.
12. The iCorrect Professional 4.0 plug-in file must be copied into the Plug-Ins folder for your image editing application, as shown below for Adobe Photoshop and Adobe Photoshop Elements.
a. Install in Adobe Photoshop:
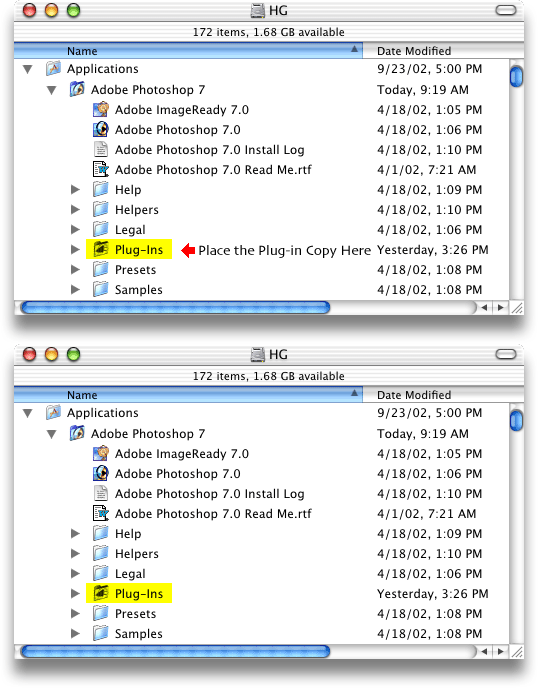
b. Install in Adobe Photoshop Elements:
